
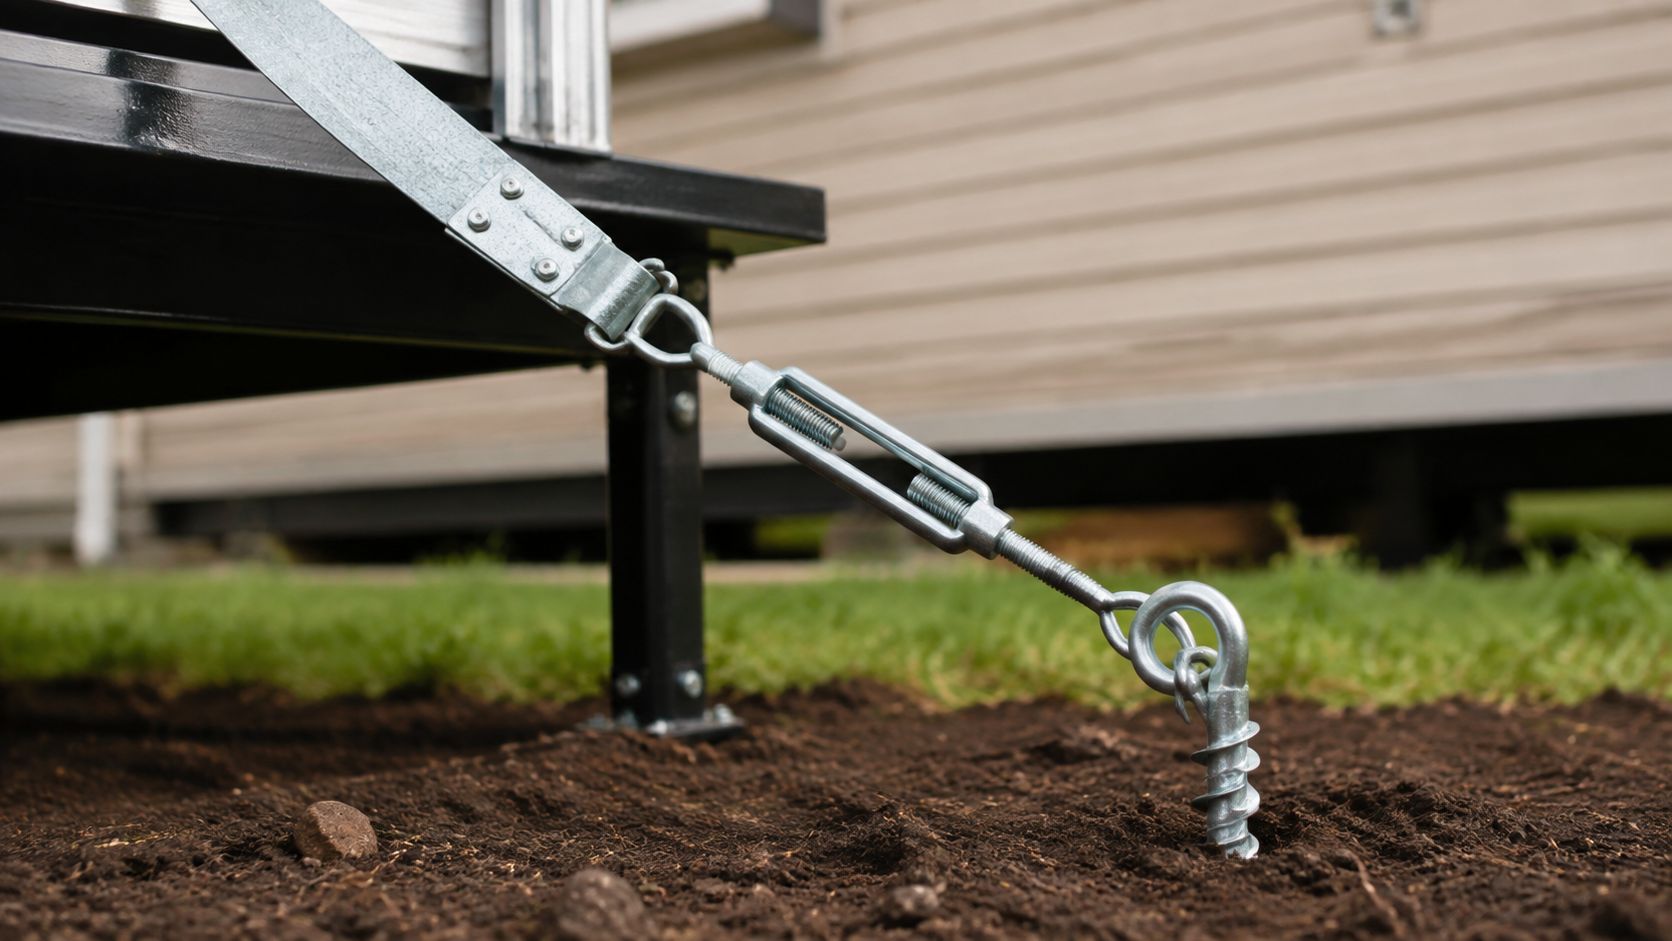
The first thing I look at is the strap that looks fine from ten feet away and fails the hand test up close. If it sags, rusts, or disappears into wet soil, the home is telling you the tie-down system was installed to pass a glance, not a storm.
Under a manufactured home, mobile home anchors and straps work as one system. The strap, the tensioning device, the anchor, and the soil all have to hold their part. If one piece is wrong, the rest don't save it.
Table of Contents
- What Mobile Home Anchors and Straps Actually Do
- The Main Types of Anchors and Straps
- How Wind Zone and Home Age Change the Layout
- Inspecting Your Tie-Down System Without Missing the Real Problems
- Why Soil and Installation Quality Decide Whether It Holds
- When to Hire a Pro Instead of DIY
- Your Next Move as a Homeowner
What Mobile Home Anchors and Straps Actually Do
A curb view can fool you. I've walked under homes that looked orderly from the street, then found frayed straps, a missing vertical tie at the marriage line, and a ground anchor that spun in saturated soil with almost no resistance. That home may have looked set. It wasn't.
Under a manufactured home, mobile home anchors and straps are a system, not separate parts on a checklist. The straps, connectors, anchors, and ground all have to work together to resist sideways wind load and uplift. HUD's installation standards require anchoring equipment to meet a working load of at least 3,150 pounds and a 50 percent overload of 4,725 pounds without failure, with steel strapping that meets ASTM D 3953-97 (HUD, 1997).
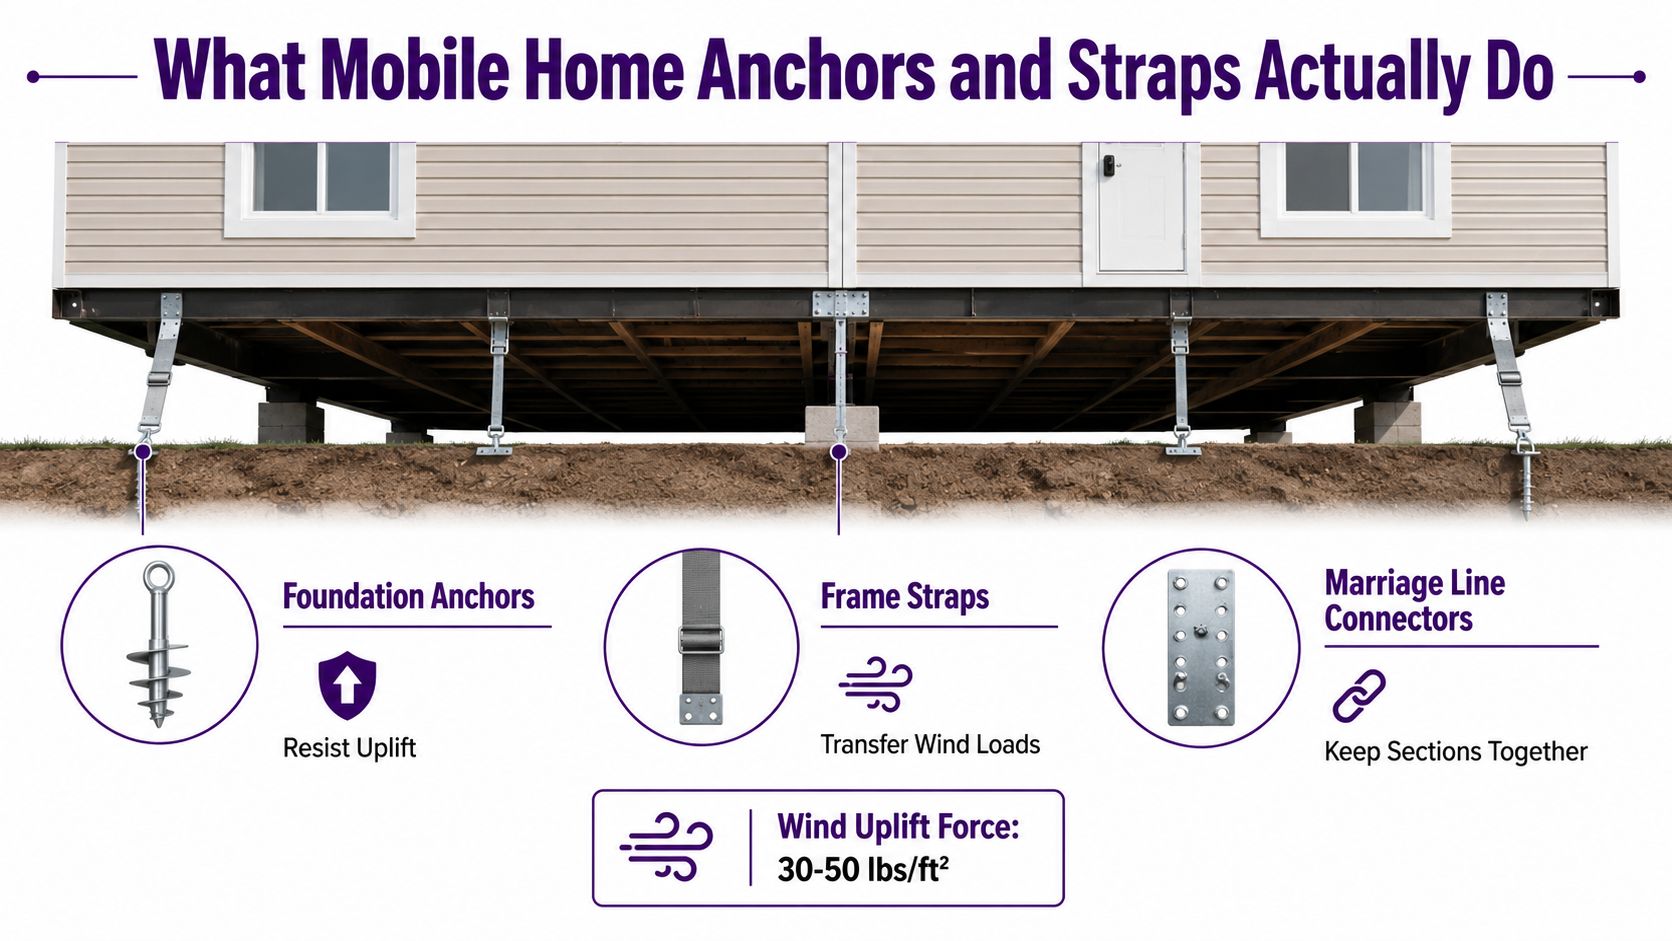
The weak link is rarely obvious
A strap can be present and still be wrong. It can be loose. It can be corroded. It can be attached to an anchor that never had much chance because the soil was too wet or too soft.
Compliance on paper doesn't guarantee performance in the field when strap, connector, anchor, and ground aren't matched to the same job.
That is why I don't treat anchors and straps as separate items. They work as one chain, and the chain only holds when every link fits the load it has to carry.
The Main Types of Anchors and Straps
Under a manufactured home, the parts do not do the same job. One piece holds to the frame, another bites into the ground, and the tensioning hardware keeps everything under load instead of letting it drift loose.
A diagonal strap runs from the frame to a ground anchor at an angle close to 45 degrees. That angle helps it handle sideways force and uplift at the same time, which is why setup guides use it as a common layout benchmark (Mobile Home Setup, n.d.). A vertical strap drops more nearly straight down and is used where the higher wind-zone layout calls for vertical restraint.
The strap itself matters just as much as the layout. HUD and FEMA guidance call for galvanized steel strapping that meets ASTM D3953, with a minimum working load of 3,150 pounds and a minimum tensile strength of 4,725 pounds, plus corrosion protection equivalent to zinc coating at not less than 0.30 oz/ft² (FEMA, n.d.). Kinks, bends, and obvious corrosion are problems. Surface rust is manageable; flaking scale, bent turnbuckles, cracked swedges, or a connector pulling out of shape are not.
| Component | Purpose | Where It Sits |
|---|---|---|
| Diagonal strap | Resists sideways and uplift force | From frame to ground anchor |
| Vertical strap | Resists uplift directly | From sidewall or roof line to ground anchor |
| Ground anchor | Holds the system in the soil | Buried below grade |
| Turnbuckle or tensioner | Keeps strap tension adjustable | Between strap and anchor |
Ground anchors are not interchangeable
Auger-style anchors usually fit firmer soils better. Concrete deadman anchors and slab-based solutions show up where rocky or shallow ground limits penetration. Cross-drive rock anchors are used where hardpan or rock changes the normal screw-in approach.
The tension device matters too. Turnbuckles and similar hardware need room to adjust, and they need to stay usable. If the strap cannot be tensioned correctly, the rest of the system is already off.
How Wind Zone and Home Age Change the Layout
A home sitting in a calmer zone does not need the same tie-down pattern as one built for stronger wind. HUD's wind-zone framework separates those loads, and NIST documents 100 mph basic wind speed for Wind Zone II and 110 mph for Wind Zone III, while Wind Zone I uses lower prescribed wind loads (NIST, 2000). Under the home, that difference shows up in how many ties you should expect and where they need to land.
Wind Zone I can use a simpler layout. Wind Zones II and III add vertical ties at each diagonal-tie location, and longitudinal stabilization is required in all wind zones (HUD, 2003). A Zone I setup may look straightforward, while a higher-zone home needs more restraint at the marriage line and along the long side.
Age changes the baseline
Pre-1976 and post-1994 homes were built to different anchoring standards, even when they sit side by side in the same park. A 1985 home and a 2010 home may carry different tie-down expectations, and pre-1976 homes belong in a separate review because they were not built to HUD standards.
Florida's rule draws a sharper line on anchor capacity, too. Type I anchors for homes manufactured before July 13, 1994 must meet a 3,150-pound working load and 4,725-pound ultimate load, while Type II anchors for homes manufactured after that date must meet 4,000 pounds working load and 6,000 pounds ultimate load (Florida Administrative Code, 2026). Newer installations are expected to carry more.
A used home moved into a higher wind zone may need more than new straps. It may need a full re-tie-down to match the current layout.
| Wind Zone | Typical Anchor Pattern | Vertical Tie Requirement |
|---|---|---|
| Zone I | Diagonal ties with longitudinal stabilization | Diagonal ties only |
| Zone II | Denser anchor layout, stronger restraint | Vertical ties at each diagonal-tie location |
| Zone III | Strongest restraint pattern, tighter spacing | Vertical ties at each diagonal-tie location |
Communities also have to think ahead before a home is set. This community resource helps when you need to match the unit to the kind of tie-down setup it will require before move-in.
Inspecting Your Tie-Down System Without Missing the Real Problems
Start with the strap path and the anchor itself. A good system reads straight at a glance. The strap should sit tight, without slack, bowing, or a springy feel when you push it sideways. The anchor should sit where it belongs, not leaning from a bad set or a moving grade.
Then look at alignment. Diagonal ties should run cleanly from frame to anchor head, without hard kinks or odd twists. Vertical ties should hang straight and land where the layout calls for them, not get dragged off line by settling or sloppy placement.
Ground conditions usually explain what the hardware is doing. Standing water, fresh backfill around one anchor, or erosion exposing the shaft all point to trouble. A strap buried in mud or brush does too. If the soil has shifted, the tie-down point has already changed.
Photograph each side of the home before you call anyone. One set of clear photos beats a long explanation.
Hardware condition comes next. Some surface rust is expected on older hardware, flaking scale, bent turnbuckles, or cracked swedges signal failure risk and need replacement. A connector that is pulling out of shape belongs in the same category. Do not talk yourself into another season with it.
Practical rule: If the strap, the anchor, or the soil looks doubtful, treat the whole tie-down point as suspect.
Why Soil and Installation Quality Decide Whether It Holds
A tie-down can look fine and still fail in the ground. The hardware is only part of the story. Soil type, moisture, and how the anchor was set decide whether that strap has anything solid to pull against.
Dry compacted clay usually grips better than loose fill. Wet sandy soil loses holding strength fast, often right when wind uplift is trying to pry the home loose.
FEMA-linked flood guidance notes that over-the-top straps move uplift load from the roof to opposite-side ground anchors, while frame ties handle lateral racking, and it recommends anchor spacing of 11 feet or less along each side for single-wides, with similar spacing for double-wides (FloodPrepare, n.d.). It also warns against screw-in anchors in wet or saturated soils because holding strength drops sharply as moisture rises.
Installation errors make bad soil worse
The same soil can perform very differently depending on how the anchor went in. Over-torquing a screw-in anchor can strip the helix. Under-driving a drive anchor leaves the head proud of grade. A shallow concrete pad can crack at the rod instead of passing load into the ground.
That is why the weakest point controls the system. Soil class, moisture, and installation depth matter as much as strap rating.
| Soil Type | Screw-In Anchor (lbs) | Drive Anchor (lbs) | Concrete Deadman (lbs) |
|---|---|---|---|
| Dry compacted clay | Higher holding potential | Higher holding potential | Higher holding potential |
| Dense loam | Good holding potential | Good holding potential | Good holding potential |
| Loose sand | Reduced holding potential | Reduced holding potential | Often preferred over shallow drive methods |
| Organic topsoil | Poor holding potential | Poor holding potential | Better only if properly designed |
| Wet or saturated soil | Sharp loss of holding power | Sharp loss of holding power | More reliable than shallow soil-only methods |
Independent test summaries cited in HUD research also note 60-anchor testing in sandy soil under both saturated and dry conditions, a useful reminder that moisture changes the result (HUD, 1997). The hardware rating does not cancel out site conditions.
When to Hire a Pro Instead of DIY
Some visual checks belong to the owner. Actual reset work belongs to someone who does this every day. A pre-1976 mobile home is one of those jobs where you don't want to guess, because the original anchoring rarely matches current HUD standards and often lacks vertical ties.
After a storm, the honest answer is to bring in a pro if the home shifted, the straps stretched, or the anchors moved. Hairline frame cracks are easy to miss if you don't crawl slowly and know what you're seeing. The same goes for additions. A new room, porch, or carport changes the load on the system under the original home.
Short rule: If the structure changed, the tie-down plan changed.
Documentation matters when insurance, financing, or resale is involved. An engineered tie-down plan with stamped drawings closes those loops faster than a verbal promise ever will. If you're dealing with a used home or a move-in deadline, this manufactured home resource is the better place to start than guessing at hardware under the clock.
Your Next Move as a Homeowner
If your home is new, follow the manufacturer's setup manual and keep photos of the completed tie-down system. If the home is older, or if you see rusted turnbuckles, sagging straps, or anchors that rock in the soil, schedule a tie-down inspection before the next wind event.
Buyers should treat the tie-down review like any other condition item. Don't let it sit in the background while you focus on paint, flooring, or skirting. A home can look finished and still have a weak system underneath.
If you're not sure whether the anchor layout matches the home's age or wind zone, stop guessing and get the crawlspace checked by a licensed installer in your state. That's the point where a small repair stays small.
If you need quote comparison for a manufactured home with strap, anchor, or inspection issues, visit Maya and start from the actual condition of the home. Maya returns quotes, does not bind coverage, and does not give coverage advice, and the licensed agent owns the placement.